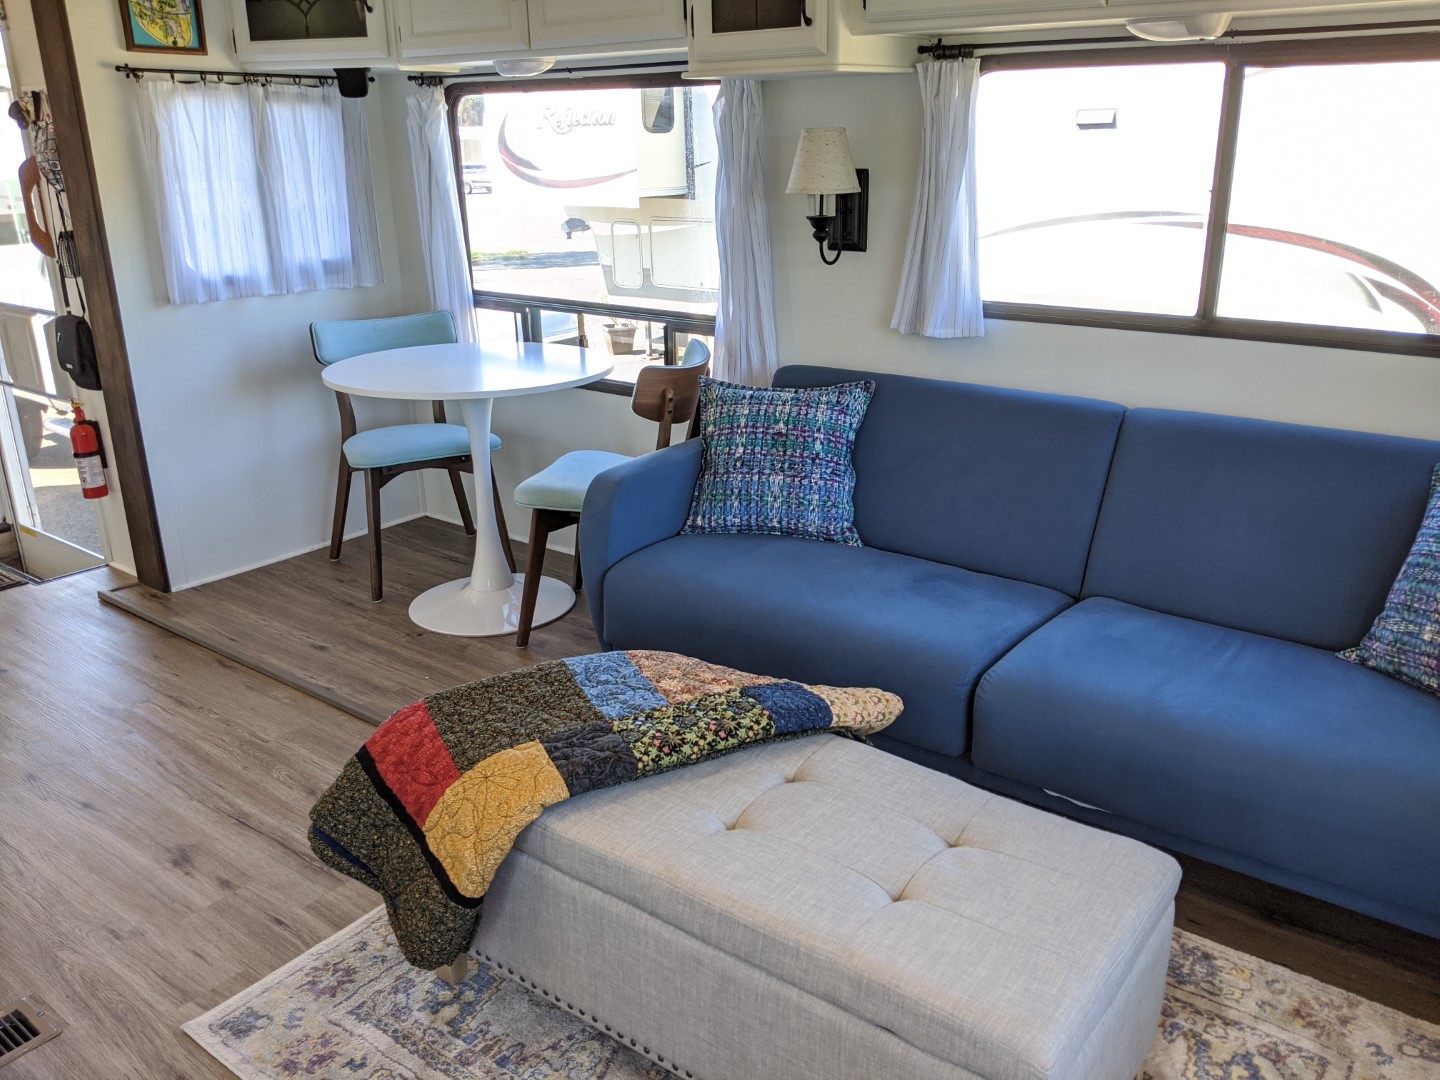

5th Wheel renovation project! Here are before and after photos of our 11-year-old Keystone Montana 3400RL. Use the slider in the middle of each photo (below) to see the before and after. We bought this trailer in April 2020 and did the renovations April and May and started traveling in June.
Paint, flooring, simple window treatments, trim, and residential furnishings make this less beige and more like the home it is for us. The two recliners were replaced with a sewing station for Susie. This Montana is big (38 feet long) so we gave it a hefty-sounding name: Hilda.


The Outside
On the outside, we stripped off the peeling and cracked decals (using a great product: GraphXOff, only available here), removed oxidation using a buffer and Maguires products), and coated with Turtlewax Hybrid Ceramic Spray Coating.

We also resealed around the exterior of the windows, replaced the fuzzy window brush weather-stripping, and recoated the roof with Hengs Rubber Roof Coat. We swapped out the old lead acid batteries for a LION 1300 Safari Lithium Battery, and an 80Amp Lithium Battery Charger, added a Renogy 2000W inverter and a nice, reasonably priced Battery Meter.
We moved the battery to the space under the stairs to the bedroom to keep it warm and to have short wires to the charger (also under the stairs) and the inverter (mounted on the ceiling of the basement). We added the battery meter and inverter control panel just below the existing tank-level meter on the wall of the stairs to the bedroom.
We also added some additional 5V USB outlet by the desk (to run the TPLink router and Visible Phone we use for internet access) and in the front closet (to run the signal booster for the tire pressure measurement system when travelling, and to run a USB fan and charge phones at night. This was relatively easy to do, by finding some of the 12V wiring already running through the trailer to run the lights, and splicing in USB outlets (12V to 5 V DC USB A outlets available online)
To increase electrical efficiency for boondocking and increase brightness, we replaced all the old incandescent bulbs with soft white LED bulbs.
Other things we have had to do as the trip progressed: replace the landings legs and motor, and rewiring the switch that controls the legs.
And then there other things we hired others to do after the renovation, but before starting the big trip: replace the aging tires, service the axel and brakes, and replace the cracked black tank.


Leave a Reply